Salesforce Integration Guide
Introduction to Salesforce SMS Integration
Incorporating SMS into your Salesforce ecosystem ensures timely and relevant interactions with your audience and enhances your ability to communicate with customers. Whether it’s sending promotional offers, appointment reminders, or customer service updates, Salesforce SMS integration makes it easier to connect with your audience on their preferred channels.
What is Salesforce SMS Integration?
Salesforce SMS integration is a powerful tool enabling businesses to send and receive text messages directly from their Salesforce platform. With it companies can leverage the power of SMS marketing to reach their customers, prospects, and business partners in a more personalised and effective way.
With Salesforce SMS integration, businesses can send automated SMS and MMS messages, update records with SMS keywords, and keep track of all messages in one inbox for real-time replies. This means you can streamline your communication processes, ensuring that every message is timely and relevant.
Key Features of Salesforce SMS Integration
- Automated SMS and MMS message sending: Schedule messages to be sent automatically based on specific triggers or workflows.
- Update records with SMS keywords: Automatically update Salesforce records when specific keywords are received in SMS replies.
- Keep track of all messages in one inbox for real-time replies: Manage all your SMS communications from a single, unified inbox.
- Send automated, templated SMS and MMS messages via Workflow Rules: Use predefined templates to send consistent and professional messages.
- Chat with prospects and customers directly via the message feed: Engage in real-time conversations with your audience directly from Salesforce.
- Build a library of personalised SMS templates: Create and store templates for various scenarios to save time and ensure consistency.
- Simplify processes with automated SMS and MMS message sending: Reduce manual effort and ensure timely communication with automated messaging.
Salesforce SMS Integration
Integrating Salesforce with SMS is a great way to easily connect with your customers and improve your response times to their actions. For almost any business, the quicker you can respond the more likely you are to win new customers.
A Lead Response Management Study claimed that the “odds of contacting a lead if called in 5 minutes versus 30 minutes drop 100 times. The odds of qualifying a lead if called in 5 minutes versus 30 minutes drop 21 times”
Obviously, most people running businesses can’t sit around waiting for leads to come in, but, if you carry your phone on you at all times, SMS is a great way to instantly know when a new lead comes in. Salesforce SMS alerts free up your time to carry out other business duties without worrying that you’re dropping a potential lead.
Salesforce is one of 750+ apps available on Zapier, and it can now talk to the Esendex SMS platform. You will now be able to send yourself an SMS every time a new leads comes in, an opportunity is created, a new contact is added and much more.
Choose from pre-made templates and get sending in minutes
Create your zap here, without even leaving our site.
Send text messages using Esendex whenever new opportunities are created within Salesforce
Salesforce + Esendex
Use this workflow
When a new opportunity is created in Salesforce, an SMS is automatically sent to the customer. Utilizing customer data to create personalized SMS campaigns and maintain comprehensive message activity records is crucial for enhancing campaign effectiveness. This ensures that your communication is timely and relevant, increasing the chances of conversion.
Send Esendex SMS messages whenever new leads are created in Salesforce
Salesforce + Esendex
Use this workflow
Integrating Salesforce with Esendex to send SMS
Using Zapier is the quickest and simplest way to SMS enable your Salesforce CRM. It is also our recommended method of integration. Salesforce’s Service Cloud offers ‘Digital Engagement’ to manage customer support interactions via automated text messaging, enhancing your digital engagement strategy.
Things you’ll need:
- A Zapier account
- An Esendex account (free trial available if you don’t already have one)
- A Salesforce account.
Setting up a Zap is a very simple process, however, we have created step by step instructions to help you with your first one:
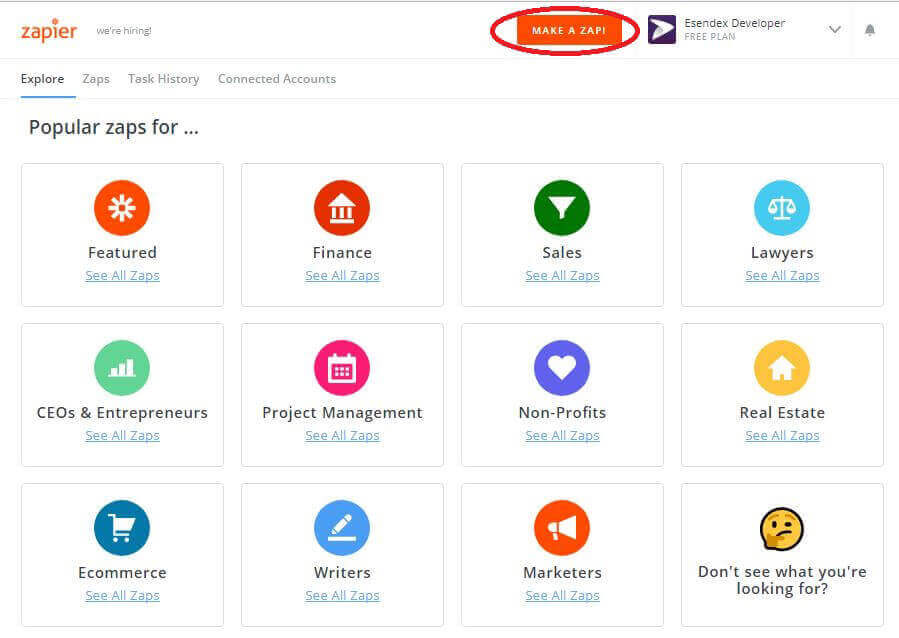
- Log into your Zapier account. You’ll see the below screen. Click on ‘Make a new Zap’, which is located in numerous places to make it easy to find.
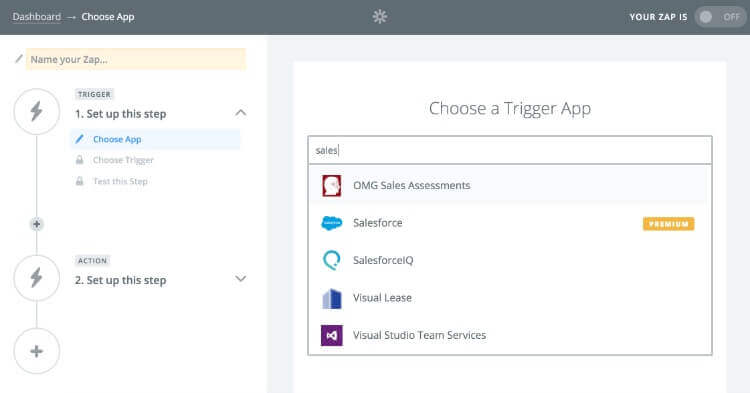
2. Choose your Trigger, which in this case will be Salesforce. You do this by searching for ‘Salesforce’ in the search box.
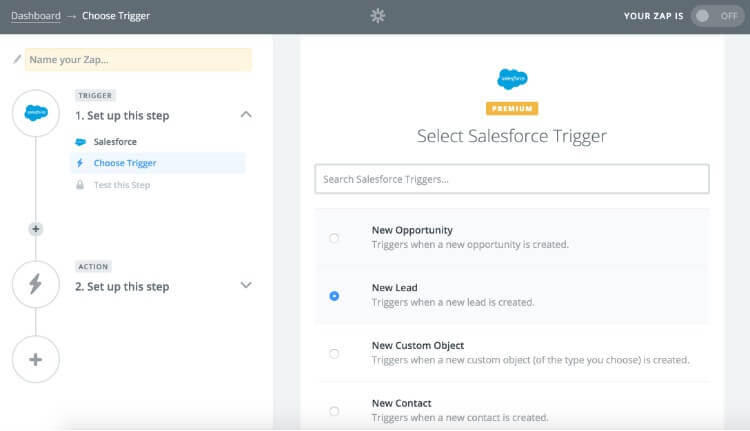
3. Choose the criteria for your Salesforce trigger. For this example we’ll pick ‘New Lead’. We want to know as soon as someone signs up for our service so that we can contact them as soon as possible, whilst their thoughts are still with our business.
4. Connect your Salesforce account by following the instructions laid out by Zapier.
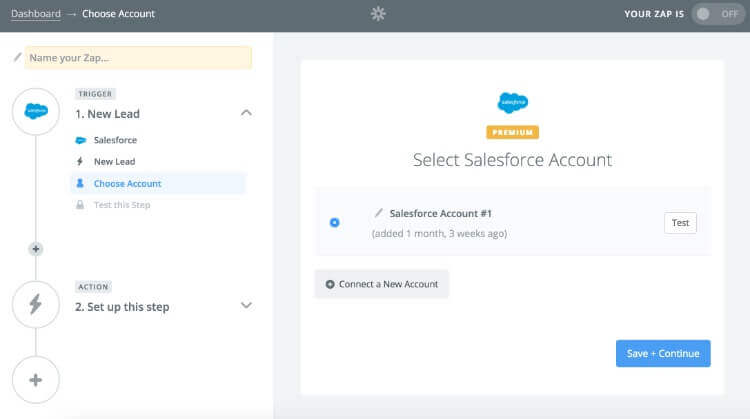
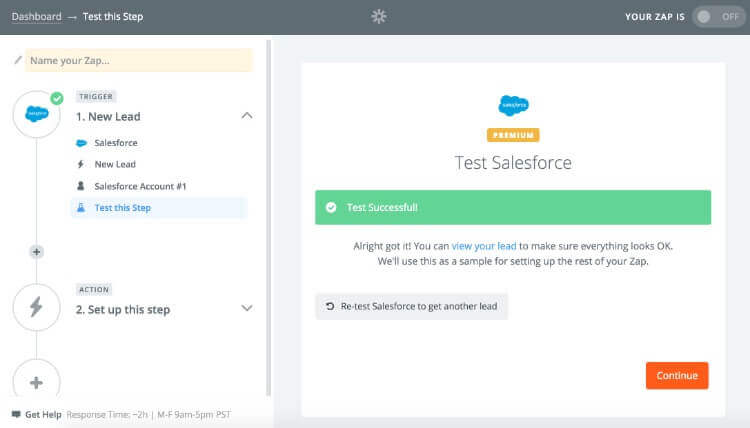
5. Salesforce will then test if there is currently a lead in your Salesforce account. If there isn’t, create one, even if it’s a dummy lead, and test again. Otherwise you can skip this step (not recommended).
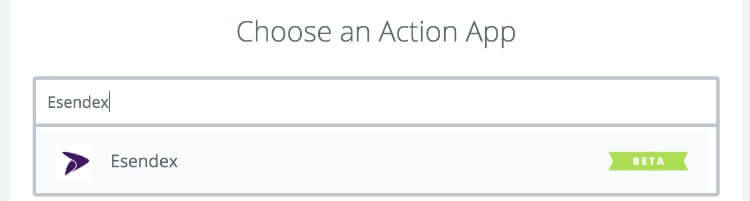
6. Choose an Action App, which will be the Esendex app. Simply search for Esendex in the search box.
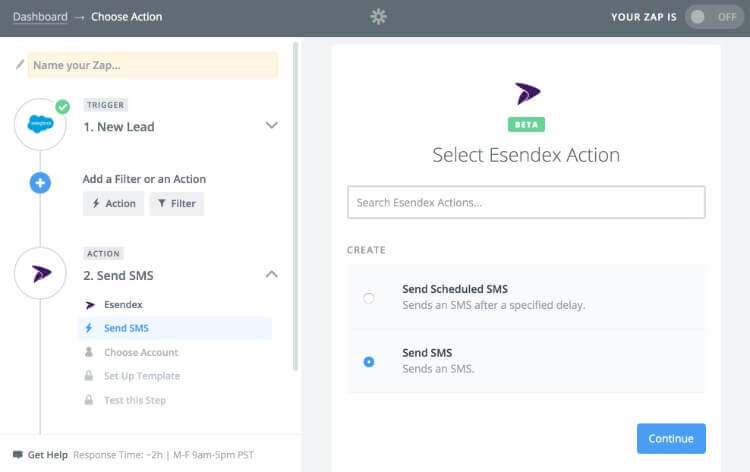
7. You will have two options: ‘Send Scheduled SMS’ or ‘Send SMS’.
Send scheduled SMS – trigger an SMS to be scheduled for a delayed send, for example 10 minutes after the trigger is activated.
Send SMS – send an SMS as soon as the trigger is activated.
Make your choice and click ‘Save + Continue’. As we want to contact the customer immediately, ‘Send SMS’ would be more appropriate here. However, if you find it’s best for your business to leave the lead 30 minutes to try your service, then choose ‘Schedule SMS’ and choose a 30-minute delay.
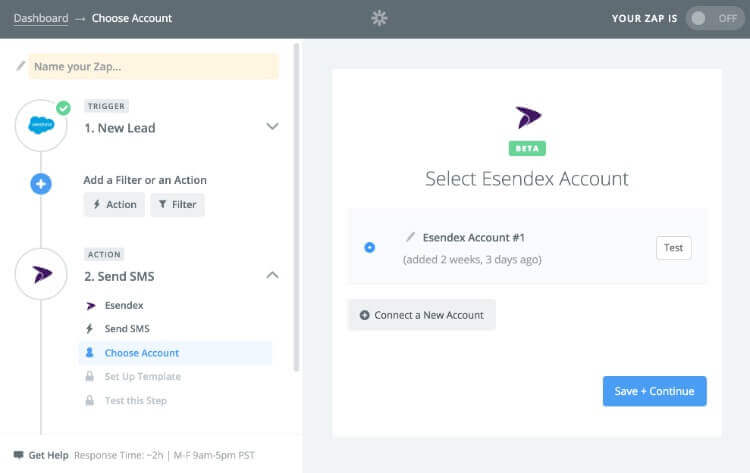
8. Connect your Esendex Account to Zapier. Choose ‘Connect a New Account’ and follow the steps to add your Esendex account. The username and password are the same as that you use for logging into your Esendex Echo account. The username will be an email address.
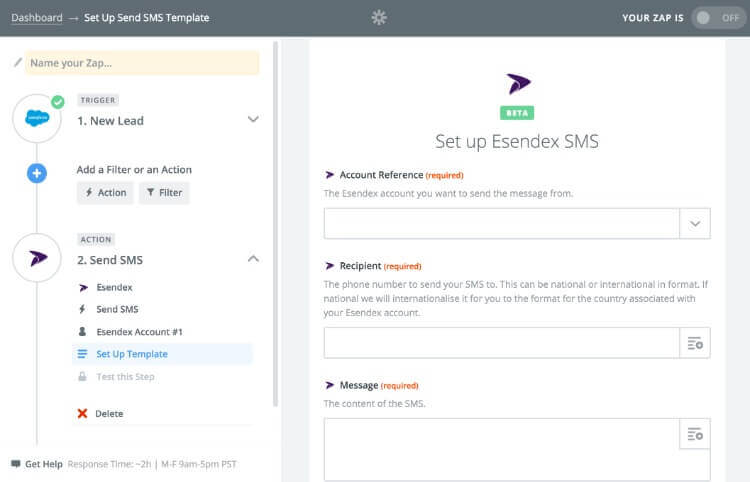
9. Set up the message recipient and template to use. First enter the phone number you wish to send the SMS to. To send to multiple contacts, separate each phone number with a comma.
The message template can contain many different dynamic fields, including the lead’s name, number, company, email and much more. You can be make the SMS message as complex as you need it to be, but be wary, anything over 160 characters will start to cost more than one SMS.
Type out the body of the message and add dynamic fields by clicking on this symbol found in the top right of the text box. If you skipped the test, you won’t be able to find any dynamic fields.
For this example we’ll keep it simple. We just want to alert ourselves to a new lead being created. We will include the lead’s name, their company name and their phone number.
10. Click Continue and test that the message works.
11. ‘Name your Zap…’ and turn it on. Now every time a new lead is created in Salesforce, you will receive an SMS alert.
Zapier is a powerful tool and can connect many different apps. Check out some of our Zapier Integration guide or any of our other integration guides.